Dimension the whole plan
in one click
Automate the dimensioning of walls, doors, windows and grids straight inside Revit, in your office standard.
Less time dimensioning. More time designing.
USD 14.90/month after the trial · Up to 2 computers
Three commands.
All the control in your hands.
From the entire floor to one specific dimension, work the way you want. Every command creates native dimensions straight inside Revit.
Dimension plan
AutomaticDimension the entire floor in one click. Walls, openings, intersections and grids are found automatically.
Dimension facade
In partsDimension the facades of a selection, chaining the dimensions along the outline.
Draw dimension
In partsDraw a line across the plan and dimension everything it crosses.
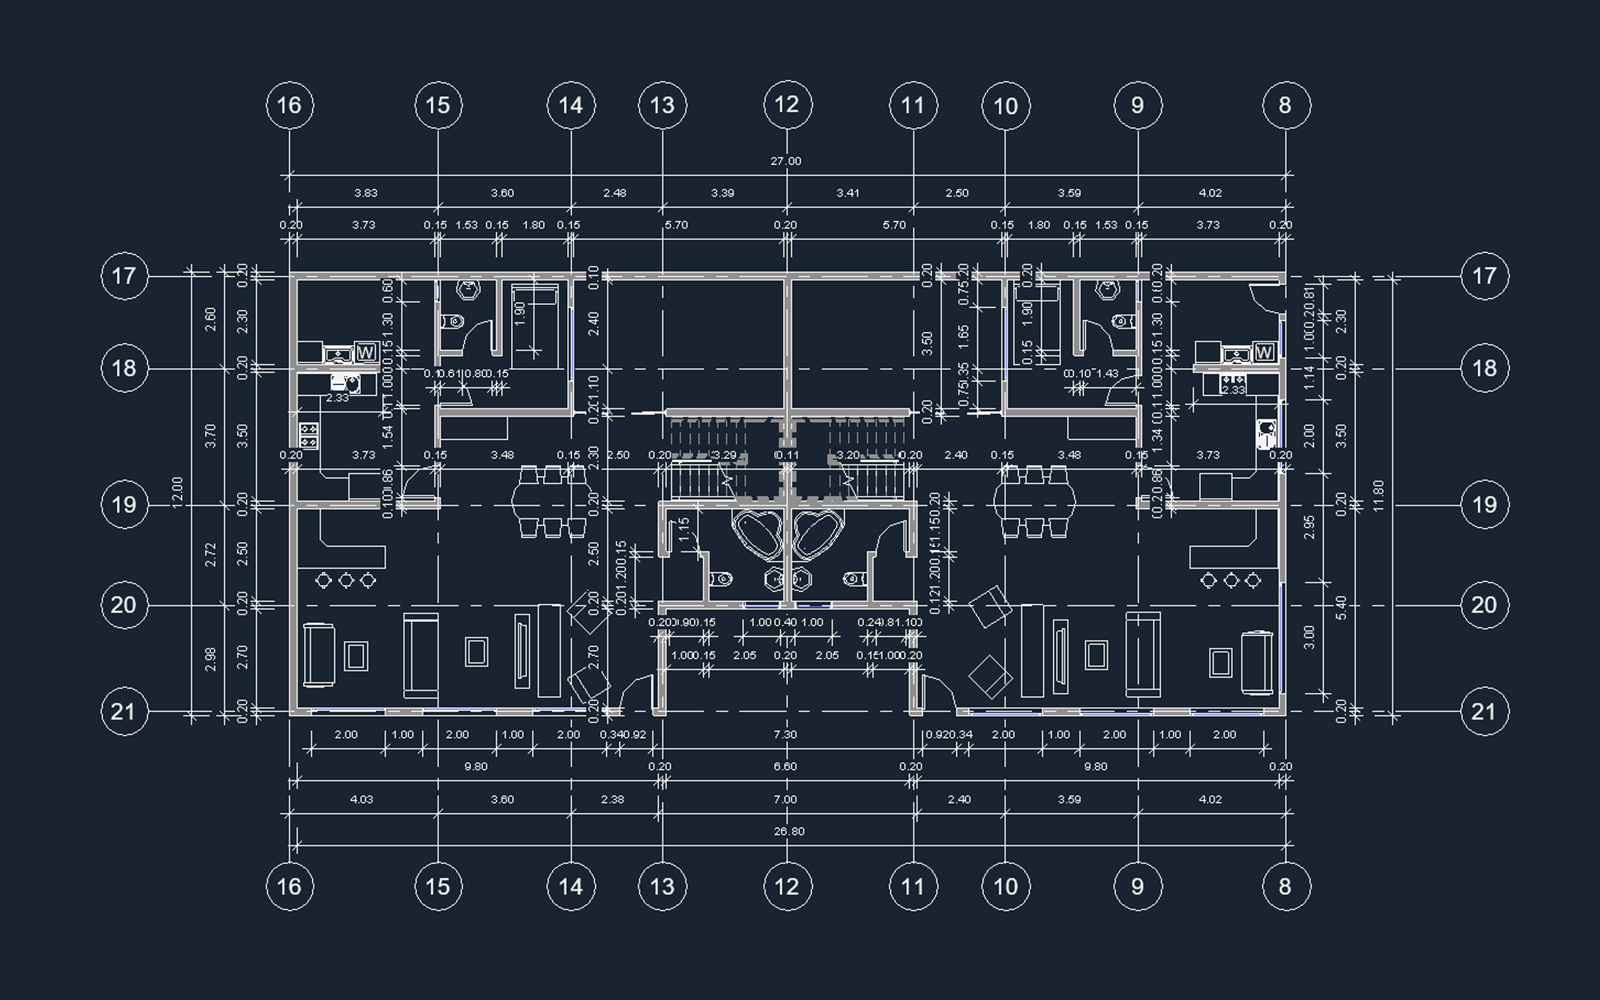
The whole plan dimensioned at once
What today is an afternoon of clicking face by face becomes a single pass. Same plan, same dimension standard, without the grind in between.
- One operation covers every wall in the view
- The same standard repeats across every floor
- No more missing a dimension and finding out at the printer
 Before
After
Before
After
References from geometry, not by eye
The plugin reads the model and works out where each wall starts, where it ends, where it meets another and where a structural grid runs. You select nothing, and it never depends on your having clicked the right spot.
- Wall ends detected automatically
- Crossings and intersections included
- Structural grids on a row of their own, between the walls and the overall dimension
- Tells you how many walls it will dimension before applying
The style is your office style
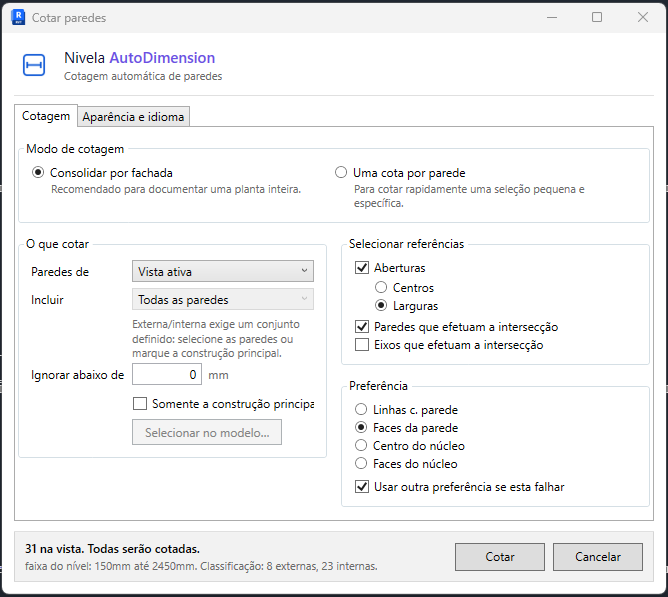
Pick the dimension type from the styles already in the project, how far the line sits from the wall, and which side it falls on. The sheet still looks like yours.
- Dimension type taken from the project itself
- Offset set in millimetres
- Dimension line side of your choosing
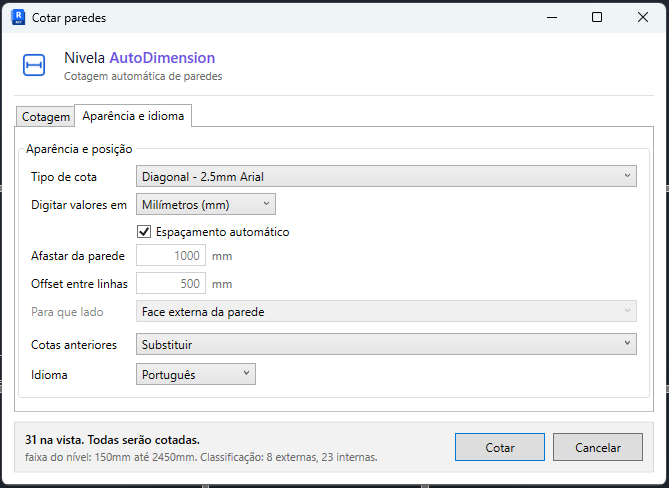
The plugin interface,
working right here on the page
Click the buttons as if you were on the Nivela tab inside Revit. Tick the options, hit Dimension, and see the plan that comes out of the combination you chose.
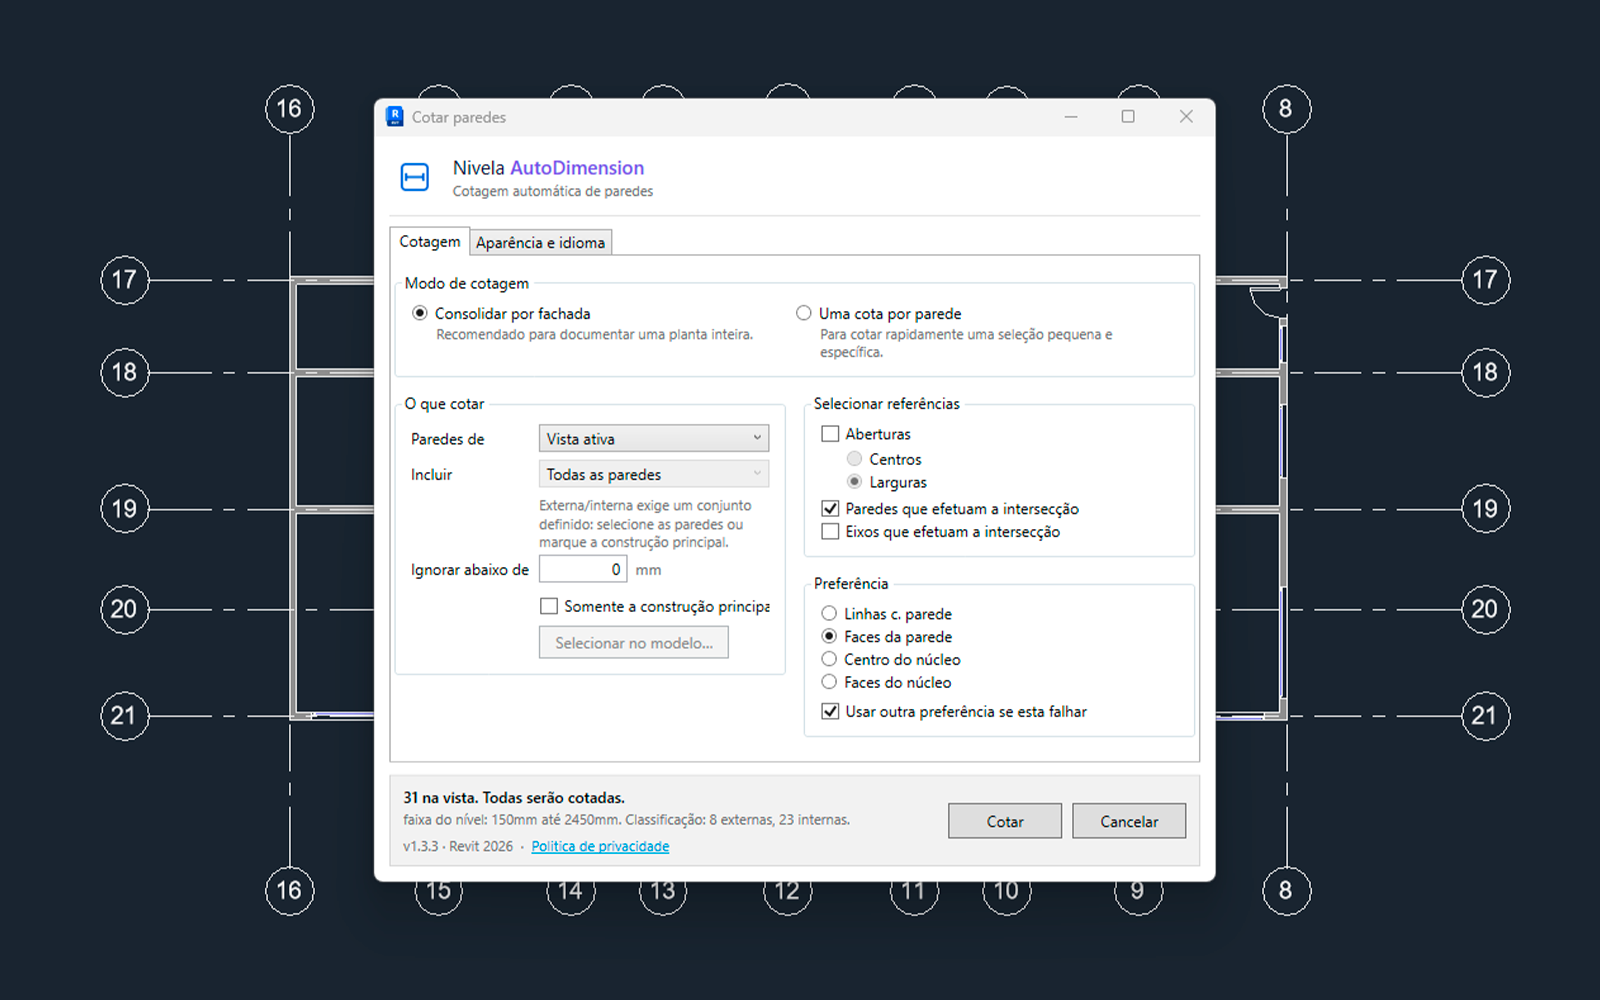
Choose the options and click Dimension.
Fits your project without
changing how you work
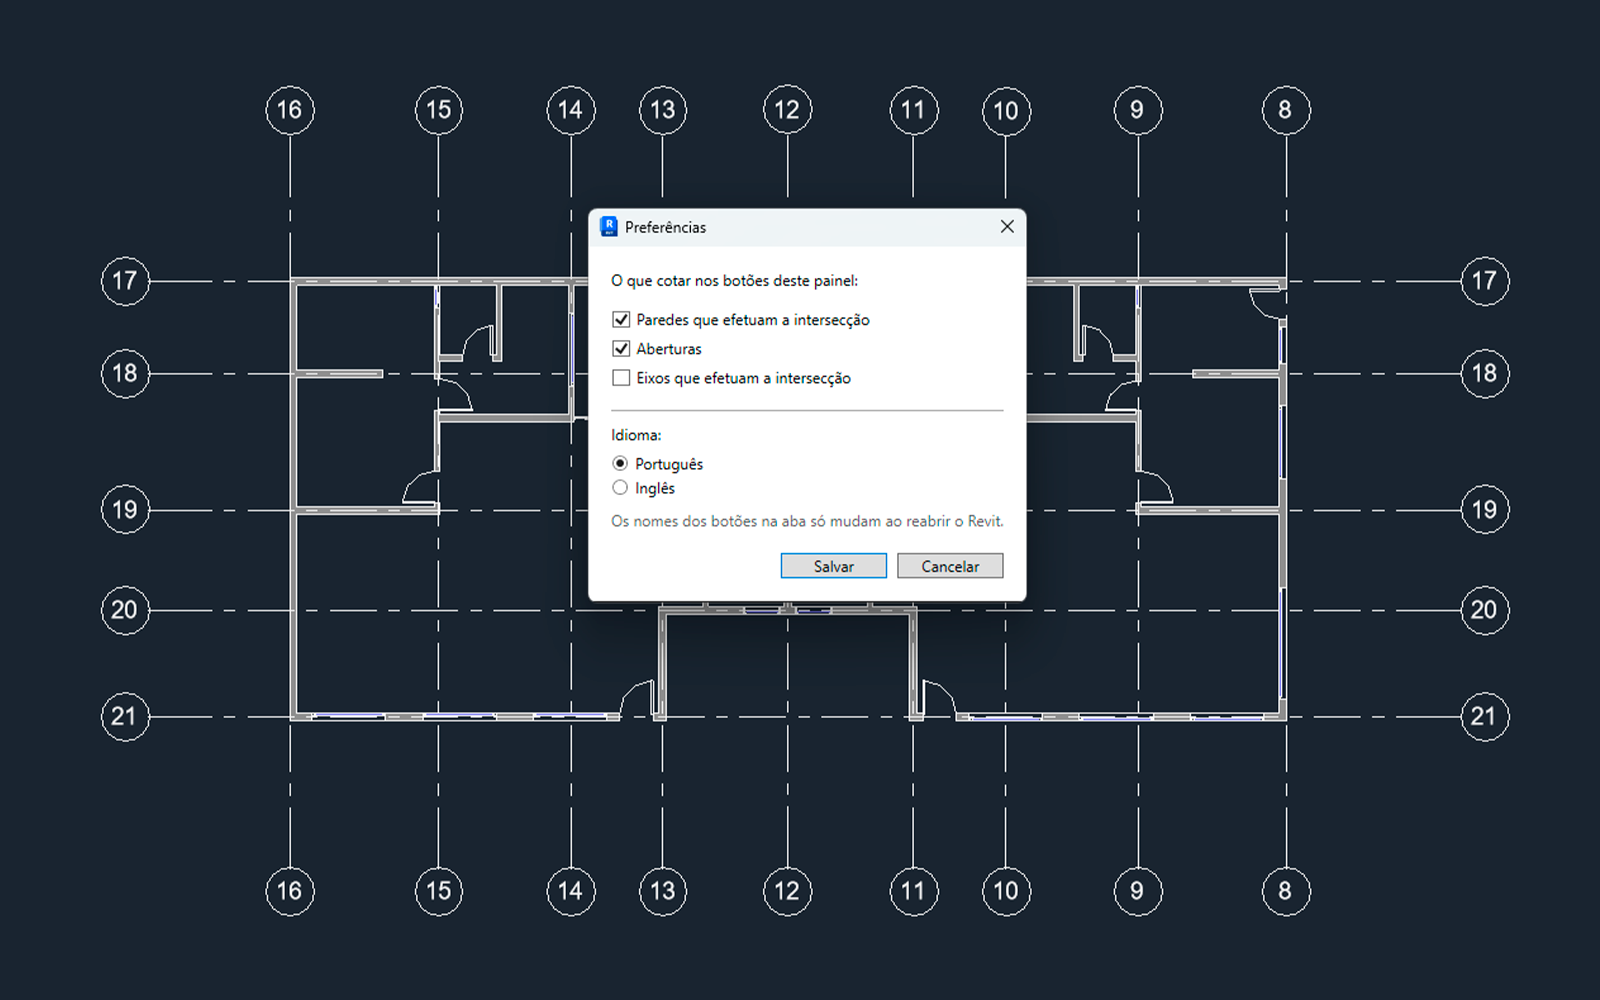
Dimension drafting differs from office to office. Everything that varies is in the panel, in plain English, before you apply.
Two dimensioning modes
Consolidate by facade puts everything on the same side of the plan into a single row: the mode for documenting a whole floor. One dimension per wall handles one specific stretch, when that is all you want.
You decide what goes in
The whole view or a selection made in the model, filtered by wall type. A minimum length drops the pieces that do not deserve a dimension, and you can stay on the main construction only.
Openings by centre or by width
Doors, windows and openings come in as one mark on the centreline, when the sheet only needs to locate the opening, or as two marks on the jambs, when the width has to be measured on the dimension.
Intersections and grids, if you want them
A wall that meets another breaks the dimension at the meeting point, instead of becoming one long stretch with no information. Grids, when switched on, get a row of their own between the walls and the overall dimension.
The reference is the one you use
Wall faces, centreline, core faces or core centre. If the preference you chose does not exist on that wall, it can try the next one instead of leaving the stretch undimensioned.
The dimension standard is yours
Dimension type from the project itself, input unit, offset from the wall, spacing between rows and which side the line falls on. And you say what to do with dimensions already in the view.
The same holds for any combination. The panel tells you how many walls it will dimension before touching the file. What goes into the project is native Revit dimensions only, with no helper objects and no extra families. At the end, the report shows how many came out and why each skipped wall was left out. And one Ctrl+Z undoes the lot.
How it works
- Install in two minutesDownload the installer, close Revit and run it. Next time you open Revit there is a Nivela tab on the ribbon, with nothing to configure.
- Open the plan and click Dimension planIn the view you are going to document. The panel opens in the mode recommended for a whole plan; for one stretch, change the scope and select the walls in the model.
- Say what the dimension has to measureDoors and windows by centre or by width, wall intersections, grids, and the reference your office uses: faces, centreline or core.
- Adjust the appearanceDimension type from the styles in the project itself, offset from the wall in millimetres, spacing between rows and which side the line falls on.
- Check the number and applyBefore touching the file, the plugin says how many walls it will dimension. If the number matches what you expected, apply. And one Ctrl+Z undoes the lot.
Specifications
| Item | What is included |
|---|---|
| Revit versions | 2025, 2026 and 2027, 64-bit |
| System | Windows 10 or 11 |
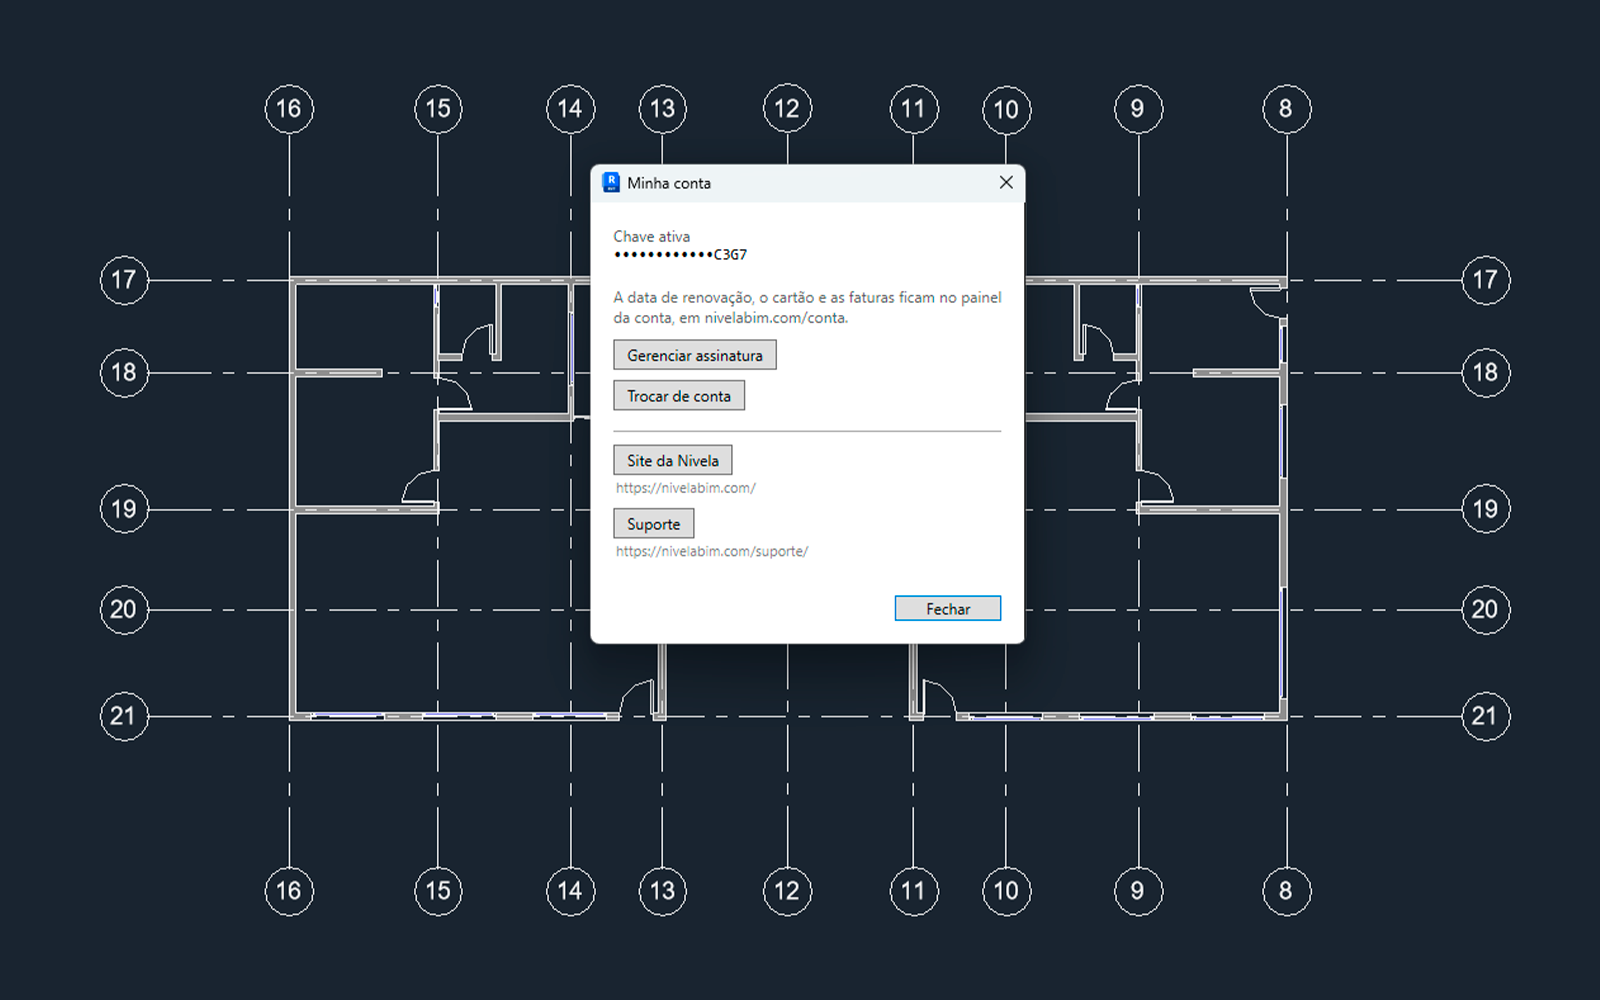
| Computers per subscription | Up to 2, swappable from the account panel |
| Installation | About two minutes, nothing to configure. The installer does not yet have a code signing certificate, so Windows shows a warning the first time you run it |
| Languages | English and Portuguese, switchable inside the plugin |
| Type of dimension created | Native Revit dimension, tied to the geometry, editable and deletable like any other |
| Updates | Every new version, for as long as the subscription is active |
| Trial | 7 days, cancellable before it ends with no charge |
Frequently asked questions
What it does
Is there a plugin to dimension a Revit floor plan automatically?
Yes. That is exactly what Nivela AutoDimension does: you open the plan, choose the scope, and it dimensions every wall at once, without clicking reference by reference. The automatic dimensioning uses native Revit dimensions, in your project style, and a single Ctrl+Z undoes it.
How do you dimension an entire floor plan at once in Revit?
Plain Revit has no command that dimensions a whole plan: the aligned dimension makes you pick every reference by hand. With AutoDimension you open the Nivela tab, click Dimension plan, check how many walls it found, and apply. The entire floor comes out dimensioned in one command.
What is the difference between dimensioning by hand and automatically?
The result is the same kind of element: a native Revit dimension that follows the wall when it moves. What differs is time and consistency. By hand, the offset and the choice of reference drift from sheet to sheet as the day wears on; automatically, every one follows the same rule.
Will it dimension correctly, or will I have to check everything?
Before applying, it tells you how many walls it is about to dimension, so you can check the selection against what you expected. And the result is native Revit dimensions: edit, move or delete any of them as if you had drawn it yourself, and one Ctrl+Z undoes the lot.
Are the dimensions native Revit elements?
Yes. Not drafting lines, not detail lines: real dimensions that respect the chosen style and update when the wall moves, like any dimension created by hand.
Can I choose the dimension style and the offset from the wall?
Yes. You pick the dimension type from the styles already in your project, the offset in millimetres, and which side the dimension line falls on.
Where it works
Which Revit versions are supported?
Revit 2025 to 2027. Compatibility is always stated on this page before you buy.
Does it work in a 3D view?
No. AutoDimension works on floor plans. A dimension is a 2D view annotation, and Revit itself does not allow dimensions in a 3D view, with or without a plugin.
Subscription and billing
How does the free trial work?
Seven days with everything unlocked. The card is registered when you subscribe and goes through a validity check, for zero or a token amount, which is not a charge and reverses on its own within a few days. Some banks send a notification anyway. The first charge happens only at the end of the trial; cancel before that and you pay nothing.
Can I take the trial again if I have used it before?
Subscribing again, yes, at any time. Getting another free trial, no: the 7 days are available once per subscriber and once per computer. If you have tested before and come back, the plugin tells you the first time you open it and offers to end the trial so access opens immediately, with the first charge made the same day. If you would rather do nothing, access opens on its own on the date the charge would have happened anyway.
Why a subscription instead of a one-off purchase?
Because Revit changes every year. Each new version means adapting the plugin, and subscribers get that without paying again, along with the fixes and the features that arrive along the way. You also start at USD 14.90 instead of a few hundred dollars up front, and you stop paying the month you stop using it.
Can I use it on more than one computer?
Yes, on up to 2 devices with the same subscription, the office desktop and the laptop for instance. The same licence key works on both.
How do I cancel?
From the subscription portal itself, at any time, without talking to anyone. Access continues until the end of the period you have already paid for.
What it does not do yet
We would rather you knew before subscribing than found out afterwards.
Revit 2025 to 2027 only
Earlier versions are not supported. Some of the geometry references the plugin relies on are undocumented by Autodesk and were verified only on those versions. Opening the others without testing would mean shipping wrong dimensions with no warning.
Some reference preferences are experimental
Dimensioning to the wall centreline or to the core works in most cases, but at a corner where walls differ in thickness the result can come out inconsistent. Those options are flagged with a warning inside the plugin. Dimensioning to the wall faces is the stable mode.
Reviews
Review AutoDimension
Buy AutoDimension
Monthly subscription
USD 14.90/month
Billed month to month
Starts with 7 days freeWhat comes with it
- The three commands: dimension plan, dimension facade and draw dimension
- Up to 2 computers on the same licence
- Updates included for as long as the subscription is active
- The key arrives by email within about a minute
7 days free
You pay USD 0 today. The first charge happens on day eight, and if you cancel before that there is no charge at all.
- Nothing is charged nowYour card is verified when you subscribe, with a zero or nominal authorisation that is not a charge and clears on its own within a few days. The first charge happens on day eight. If you cancel before that, there is no charge at all.
- 7 days to change your mindAfter the first charge you have 7 calendar days to ask for the full amount back, with no reason needed. This is our commitment, stated here so you know it before you pay rather than after. When the money goes back, access to the plugin ends immediately.
- Payment happens on StripeThe payment screen is Stripe’s, over an encrypted connection. Your card details never pass through our server at any point, and we never get to see them.
- No minimum termThere is no penalty and no exit fee. You cancel it yourself from the subscription portal, under My account, and access keeps working until the end of the period you have already paid for.